The key takeaway for me today has to do with what Zac said about mix buss processing — having such processing in place, even for the recording stage, can aid you in making better decisions upstream, by getting you in a closer ballpark to what the final result will be. More on this at the bottom.
Mastering an album: track-by-track processing

Here is a 9-track album with overlapping segues, and a reference at the bottom. You can see volume adjustments made to each track, to have the album peak at the right point (track 7 was the loudest). Each track has the same chain of plugins (but with different settings).

The first two slots were occupied by Pultec EQs, here the Waves emulation. Pultecs are extremely transparent and musical sounding. Here is a slight dip at 500 Hz.

Slot 2. Here a very slight lift at 10 kHz. A note that, even when dry, these units still colour the sound passing through it, giving it an analog tone.

Slot 3. Subtle shaping with Pro-Q. A slight lift in the bass, which was about to be controlled in the next step.

Slot 4. Multiband compression, specifically targeted to control the low dynamics.

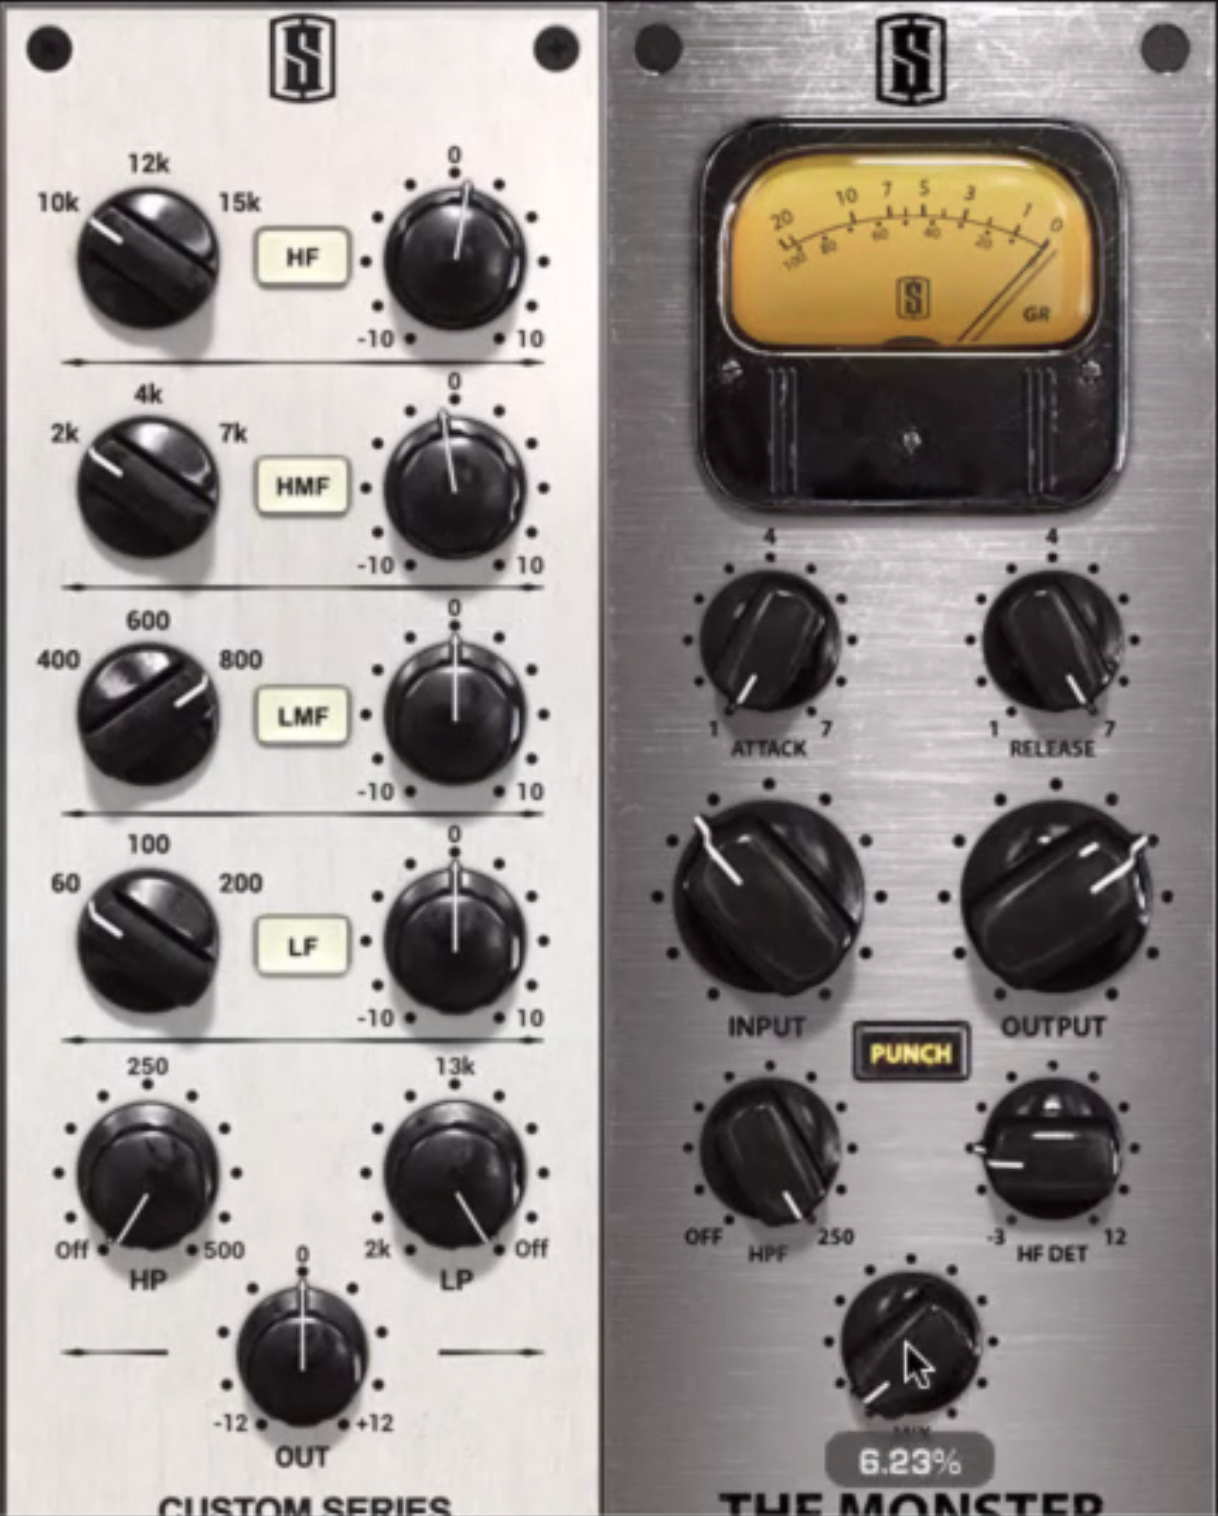
Slot 5. SSL-style buss compression, here from Slate Digital. Notice the setting of the HPF, that this compressor unit is looking at frequencies above those in the previous step, since the lows were already dealt with. Brainworx also has a similar plugin with the added HPF (the original hardware didn’t).

Slot 6. Zac’s favourite tape emulator, which in this case added a bit of width. Pro Tools only. Zac also mentioned the MStereoExpander as a free alternative.

Slot 7. MixCentric from Waves. A bit of magic?

Slot 8. The ‘secret sauce.’ Here in the form of a few plugins in a Slate Virtual Mix Rack. The first is console-style saturation, followed by some gain staging…
…then by another Pultec-style EQ (cutting a bit at 2k, which Zac noticed was boosted from the MixCentric), then followed by an aggressive (1176-style?) compressor, operating at 6% (!) wet, to add a bit of weight to the in-between material.

Slot 9. Finally, the popular Soothe plugin, which took care of some whistling frequencies in the upper range, caused by the strings and vocals.
Master buss processing

Slot 1. Izotope’s Ozone 7 multiband compressor in mid-side mode. This is why we hire mastering engineers. Notice the gentle ratios and slow releases.

The ‘side’ settings of the previous. Thresholds seem to be a bit more aggressive, but now operating at around 50% wetness (Zac said it tended to widen the stereo image further.) The lows have also been rolled off from the side channel.

Slot 2. The Pro-Q to do a final low rolloff and top end lift.

Slot 3. Finally, Ozone 8 to do some dynamic EQ (relaxing of some boomy frequencies), and the maximizer for level. The mode (“IRC IV Classic”) and Threshold was set specifically for the character of the music, to not be too aggressive, but still to add excitement.
Starting with mix buss processing already in place
Compression. A buss compressor, such as the type mentioned above, reducing by up about 1.5 dB is a safe starting place.
Saturation. Buss saturation, such as the Slate tools mentioned above.
EQ. A simple high lift, otherwise the mixes may sound dull. Could be a 3 dB high shelf at 5 kHz.
Limiting. Mainly to bring up the overall level, and perhaps just reduce some of the peaks.